The Importance of a Porch Roof
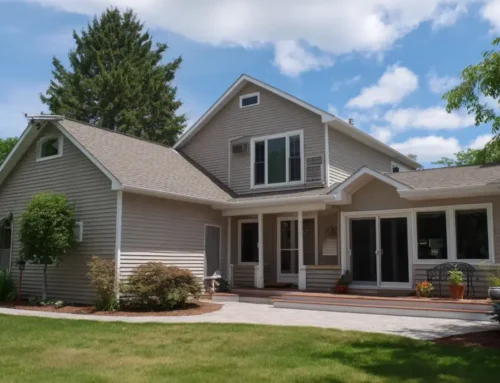
A porch is a delightful extension of a home, offering a space to relax, entertain, or simply enjoy the outdoors. Enhancing it with a roof not only elevates its functionality but also adds significant resale value to the property. A well-constructed porch roof provides shade, protects from the elements, and enhances the overall aesthetic appeal of a residence.
Essential Tools and Safety Measures
Tools Required:
- Jigsaw or Circular Saw: Essential for cutting rafters accurately.
- Rafter Square: To ensure precise measurements for cuts.
Safety Precautions:
- Always wear a helmet, safety glasses, and gloves.
- Use sturdy ladders with rubber feet, ensuring they are on level ground.
- Engage in construction with at least one other person for assistance and safety.
Steps to Constructing a Porch Roof
1. Planning and Design
Before diving into construction, decide on the design of the porch roof. While flat roofs are an option, they can accumulate debris and water. A pitched roof, such as a gable or shed roof, offers better drainage. However, for simplicity and ease, a lean-to roof is often the preferred choice, seamlessly extending from the existing house roof.
2. Taking Accurate Measurements
Determine the pitch of the existing roof to ensure the porch roof complements it. For two-story homes, maintain a clearance of at least 3 inches below windows. Calculate the length of the rafters and the total lumber required using a construction calculator.
3. Setting Up the Rafter Plates and Columns
Begin by installing the rafter plate, marking its placement with chalk. Ensure a 3-inch clearance below windows. Attach the rafter plate to wall studs using lag screws. Subsequently, measure and place the columns, ensuring one at each end and additional ones every 6 feet for optimal support.
4. Framing the Roof
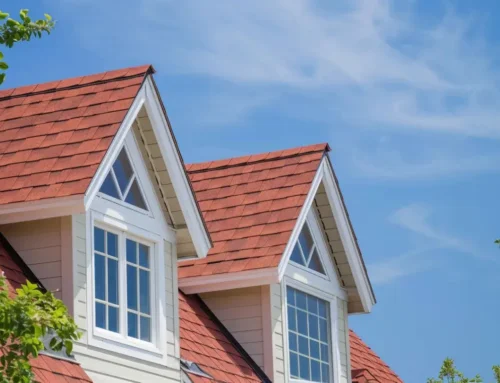
The roof frame is pivotal, bearing the weight of the roofing materials. Start by placing header boards on the columns, followed by the rafters. Depending on the roofing material, adjust the spacing of the rafters. For instance, asphalt shingles require rafters every 16 inches, while lighter metal roofing can have a 24-inch spacing. Once rafters are in place, add support using jack studs and install plywood for the roofing material.
5. Sheathing and Underlayment
After framing, add 7/16” plywood sheathing over the rafters. Install a drip edge along the eaves, ensuring it extends beyond the fascia board for proper water drainage. Roll out synthetic underlayment over the sheathing, ensuring no creases or folds.
6. Installing the Roofing Material
Follow the manufacturer’s guidelines when placing the roofing material. Begin from the top and work downwards. Once done, install aluminum flashing over exposed wood and set up gutters on the fascia board.
Maintenance and Professional Insight
A well-installed porch roof can last between 20-70 years, depending on the material and maintenance. Regular inspections by professionals, like San Diego County Roofing & Solar, can identify potential issues early on. Whether it’s damaged shingles, mold growth, or leaks, timely intervention can prevent extensive damage.
While constructing a porch roof might seem daunting, with the right tools, planning, and expertise, it’s a rewarding endeavor. And for those who prefer a hassle-free experience, professionals from San Diego County Roofing & Solar, one of the leading roofing contractors in San Diego, are always ready to assist, ensuring durability, aesthetics, and safety.