Roof framing is a critical aspect of any construction project, ensuring the stability and longevity of the roof. Proper framing not only supports the weight of the roofing material but also withstands external pressures like wind and falling debris. With the right techniques and understanding, a well-framed roof can last for generations.
Understanding Roof Frames
The frame of a roof is its backbone, providing the necessary support for the roofing material. There are primarily two framing methods: stick framing and trusses.
Stick Framing
Stick framing involves assembling the roof support directly on the construction site. This method uses ridge beams and valley beams, supported by wooden rafters. Each rafter extends from the roof’s ridge and meets the wall at a right angle. The angle of the rafters determines the roof’s pitch. Additionally, ceiling joists form the horizontal ceiling and help in holding the walls together. This traditional framing style requires expertise and precision.
Truss Framing
Truss framing, on the other hand, employs prefabricated lumber shaped into triangular patterns. Each truss provides support for the roof and ensures the walls remain intact. The spaces between trusses, known as bays, are evenly spaced to distribute the weight of the roofing material. Truss framing is generally more straightforward for DIY enthusiasts, provided they adhere to the manufacturer’s guidelines. However, one must remember that altering trusses can jeopardize their structural integrity.
Popular Roof Designs
Different architectural styles call for varied roof designs. Here are some of the prevalent ones:
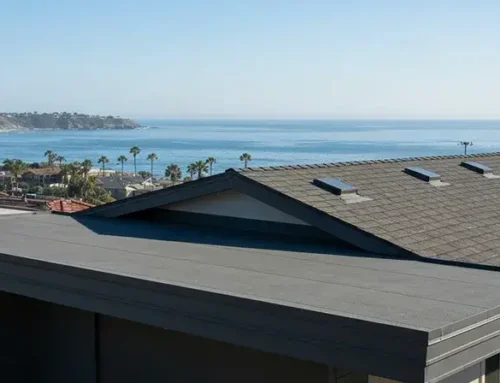
Flat Roof
Despite lacking a slope, flat roofs are favored by many for their aesthetic appeal. They are especially suitable for roof decks. However, they demand meticulous installation of flashing and sheathing to prevent leaks.
Gable Roof
Gable roofs are among the simplest to frame. They feature two sloping sides that converge at the ridge beam, with a characteristic triangular wall on both ends.
Lean-to Roof
Also known as a shed roof, this design has a single slope. It’s an excellent choice for home extensions or porches, maximizing interior space while ensuring efficient water runoff. However, they often require longer rafters, making them slightly pricier.
Hip Roof
Characterized by four sloping sides, hip roofs are robust and ideal for regions with heavy snowfall. They might be complex and costlier but offer unmatched durability.
Framing Your Roof: The Process
After choosing a design, the next step is determining the roof’s pitch and the length of the common rafter. This involves measuring the roofing space’s length, dividing it by two to get the run, and subsequently calculating the rafter’s length.
With the pitch and run determined, a construction calculator can help ascertain the exact length for each rafter and the required cut angles. It’s advisable to make a few test cuts to ensure accuracy. For steeper roofs, scaffolding might be necessary for safety.
Typically, common rafters or trusses are spaced 24” apart, though some designs might require 12” or 16” spacing. Once a few rafters are in place, the ridge board, running the home’s entire length, can be positioned. This step usually requires multiple people for safe and accurate placement.
Entrust the Experts
While roofing might seem straightforward, it demands expertise and the right tools. San Diego County Roofing & Solar, with its vast experience in roofing in San Diego, ensures top-notch craftsmanship. Our team of skilled roofers in San Diego is equipped to handle complex carpentry challenges, ensuring your roof stands the test of time. Whether you’re looking for residential or commercial solutions, San Diego County Roofing & Solar is your trusted partner. Reach out to us for unparalleled roofing services.