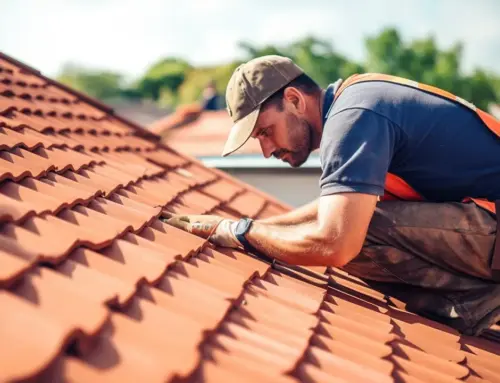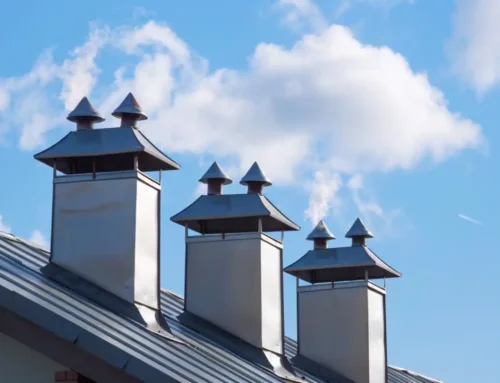
If you’re dealing with flat roofs, you’ve probably heard about the fantastic benefits of modified bitumen roofing systems. In this article, we’ll explain modified bitumen roofing, what it can offer your roof, and, most importantly, how to install it.
What is Modified Bitumen Roofing?
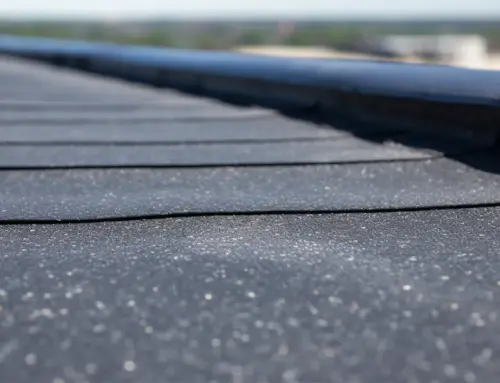
Modified bitumen is a roofing system designed primarily for low-slope and flat roofs. This material combines traditional asphalt with polymerized rubber, styrene butadiene styrene (SBS), or plastic asphalt to create a durable roofing material that matches extreme temperatures and foot traffic.
Features of Modified Bitumen
Energy Efficiency
Modified bitumen roofing systems are highly energy efficient. The roofing material reflects sunlight, reducing the need for air conditioning in higher temperatures. This makes modified bitumen a popular choice for commercial roofing.
Durability
Unlike traditional asphalt or built-up roofing, modified bitumen roofing systems offer an average life expectancy of 20 years or more with proper maintenance. The materials used in the modified bitumen roofing system are resistant to common wear and tear, weather, and foot traffic.
Versatility
The modified bitumen roofing system can be installed over your existing roof, which cuts down on installation costs and the actual cost of the new bitumen roof. This makes it an affordable option for commercial and residential buildings alike.

How to Install Modified Bitumen Roofing – A Step-by-Step Guide
Installing a modified bitumen roof may seem complex, but you can achieve a quality installation with the right tools and instructions.
Tools and Materials Required
You will require several tools and materials to install your modified bitumen roofing system. They include:
Tools:
- Propane torch: This is used for the torch-down installation method, which melts the bitumen to create a secure seal.
- Knife: A sharp utility knife will be needed to cut the roofing roll to fit the size of your roof.
- Weighted roller: This is used to ensure a tight bond between the layers of roofing material.
- Gloves: Heavy gloves are important to protect your hands during installation, especially when using a propane torch.
- Hammer: You will use this for securing roofing nails or cap nails.
Materials:
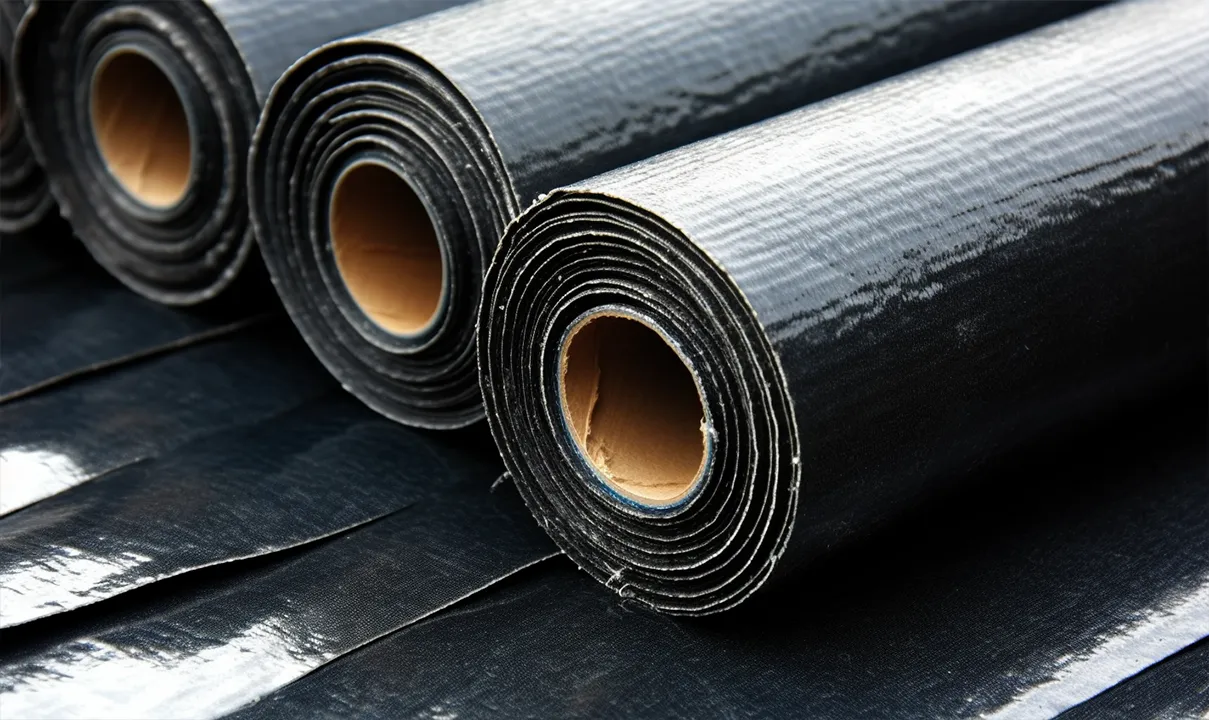
- Modified bitumen membrane: This is the main roofing material. The amount required depends on the size of your roof.
- Roofing nails or cap nails: These are used to secure insulation, vapor barriers, and the drip edge.
- Roofing cement: Used to provide additional sealing where required.
- Drip edge: This directs water away from the roof and is secured along the roof’s edges.
- Primer: Applied on the surface of the roofing felt to ensure a better bond between it and the modified bitumen membrane.
- Roofing felt: This is laid on the clean, insulated roof as an underlayer to the modified bitumen membrane.
- Insulation or vapor barriers (if required): Installed before applying to roof felt to protect your building from heat loss and condensation.
Ensure you have all these tools and materials before you start the installation process to make your work smooth and uninterrupted.
The Guide (Torch-Down Modified Bitumen)
You are now ready to install your mod bit roofing system. For this section, we will show you a torch-down modified bitumen roofing installation.
Step 1: Cleaning and Insulation
First, make sure to clean the old roof thoroughly. Remove any debris, dirt, or dust to ensure a tight seal. After the roof is clean, install any required insulation or vapor barriers, securing it with roofing nails.
Step 2: Applying the Roofing Felt
Next, apply a layer of roofing felt over the clean, insulated roof, overlapping each sheet by at least six inches. Secure it with cap nails.
Step 3: Drip-Edge Flash Attachment
Install the drip edge flashing along the edges of the roof. This will direct water away from the roof, protecting the building from water damage. Secure the drip edge with roofing nails.
Step 4: Primer Application
Apply a coat of primer on the surface of the roofing felt. This helps to ensure a better bond between the roofing felt and the modified bitumen membrane.
Step 5: Roofing Material Roll Out
Starting at the roof’s lowest point, unroll the modified bitumen membrane. Use your foot to roll the roofing forward, taking your time to ensure perfect fitting. Allow it to sit to shape itself to the roof for a few minutes.
Step 6: Cut Roofing to Fit and Adjust Wherever Necessary
Using a knife, cut the roofing material to fit your roof perfectly. Leave a few inches of overhang to create a drip edge.
Step 7: Retouch the Material by Slightly Rolling
Next, gently roll the material to remove any wrinkles or bubbles. This will ensure a smooth, quality installation.
Step 8: Heat It
Using the propane torch, lightly heat the adhesive film on the backside of the modified bitumen. Do this carefully to avoid overheating the material.
Roll out the heated membrane onto your roof, applying it from the lower edge upwards. Use a weighted roller to ensure a tight bond between the layers.
Step 9: Repeat
Repeat steps 5 through 8 for each additional layer, making sure to overlap each new layer by a few inches for a tight seal.

Guide for Installing Peel-and-Stick Modified Bitumen Roofing
Peel-and-stick modified bitumen roofing is a self-adhesive roofing system that requires no heat for installation. It’s a safer and simpler installation method compared to torch-down installation. However, it does require careful attention to detail to ensure a quality installation. Let’s break down the steps:
Step 1: Clean and Prepare the Roof
Start with a clean, dry roof. Remove all debris, old roofing materials, and any sharp objects that might damage the new bitumen roof. If your roof has dips or uneven surfaces, fill them in to make it perfectly flat.
Step 2: Install the Base Sheet
Roll out the base sheet from one end of the roof to the other, ensuring the side with the plastic or paper film faces upward. Cut the base sheet to fit the size of your roof. Make sure to overlap edges by at least a few inches to ensure a tight seal.
Step 3: Remove the Protective Film
Starting at one end of the roof, slowly peel off the protective film on the back of the base sheet. As you peel, carefully roll the base sheet onto the roof to avoid wrinkles or bubbles.
Step 4: Press Down the Base Sheet
Once the base sheet is in place, press it down firmly with a weighted roller. This ensures a strong bond with the roof.
Step 5: Install the Cap Sheet
Next, roll out the cap sheet over the base sheet, again ensuring an overlap of at least a few inches. Cut the cap sheet to fit as you did with the base sheet.
Step 6: Remove the Protective Film
Just as with the base sheet, peel off the protective film on the back of the cap sheet. Roll the cap sheet onto the roof, making sure to smooth out any wrinkles or bubbles.
Step 7: Press Down the Cap Sheet
Use the weighted roller again to press down the cap sheet, ensuring it forms a strong bond with the base sheet.
Step 8: Seal the Edges
Use roofing cement to seal the edges of the roofing system. This will provide additional protection against leaks.
The peel-and-stick method is great for colder climates where a torch-down installation may not be feasible due to cold weather conditions. It’s also less risky, as it doesn’t involve open flames. However, it still requires careful attention to detail to ensure the layers are correctly aligned and firmly attached.
Once installed, your peel-and-stick modified bitumen roof can offer the same durability, versatility, and energy efficiency as a torch-down roof. All it takes is a little patience and careful work to ensure a quality installation.
Final Thought
Installing a modified bitumen roof is an excellent investment. It’s durable, versatile, and energy efficient. With a careful installation process, your modified bitumen roof can last for decades, protecting your building from the elements and saving you money in the long run.
However, please be mindful of the inherent risks of a torch-down installation method and always prioritize safety over speed. Wear heavy gloves, avoid working in cold weather or extreme heat, and keep an eye out for any early warning signs of trouble.
We recommend hiring a professional company to install modified bitumen membranes. And San Diego Roofing & Solar is the best option. The company has several years of experience installing these roofs with a focus on customer satisfaction. You home is in great hands.